agentcad / getting started
Getting started with agentcad
By the end of this page, you and your agent will have designed a real part: a CAD file you can print at home, or hand to a machine shop.
Free · No signup · Runs on your machine
Hello, coaster
This tutorial shows you how to use agentcad by building a simple coaster: 60mm square, 4mm thick, corners rounded with a 6mm radius, and a shallow 40mm dish in the top so a wet glass has somewhere to drip.
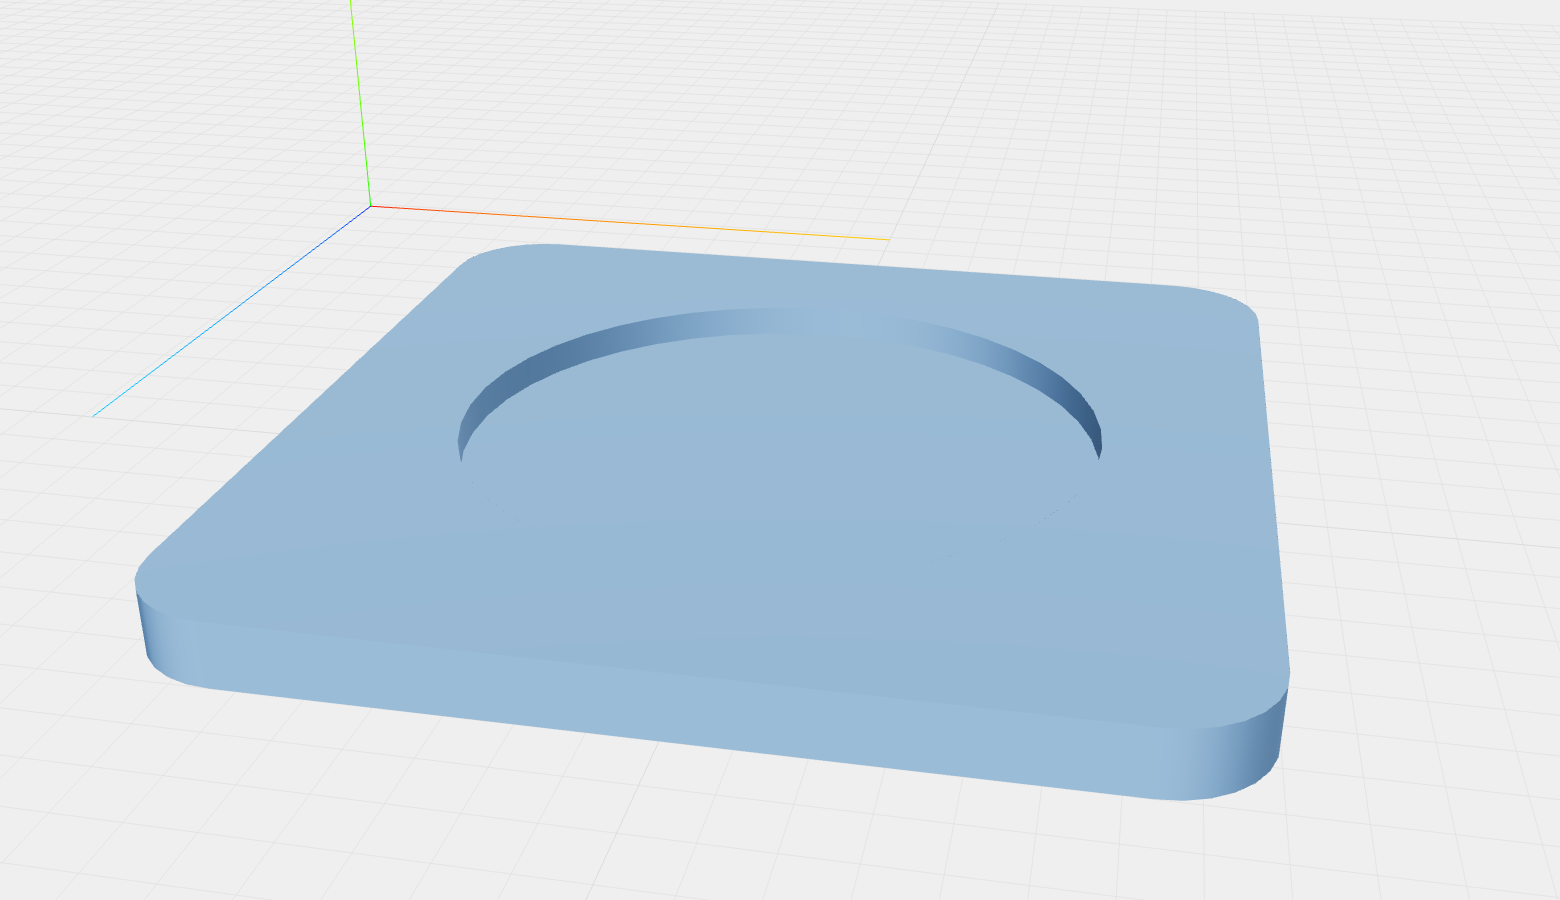
You will build it in two passes, because that is how design actually goes. First a plain blank, so you can see what agentcad hands back. Then the corners and the dish, so you can see how it reports what changed.
Who does what
You ask for things in plain English. Your agent writes a short Python script and runs it through agentcad. agentcad hands back three things: a real CAD file, a set of measurements, and pictures from four angles.
The measurements are the important part. They let your agent catch a part that came out two inches too long and fix it before you ever see it. Your job is to ask, then check the numbers your agent reports back.
Before you start
- A coding agent
- Claude Code, Cursor, Codex, or anything that can run shell commands in a folder. That is the whole interface. agentcad is built for agents to drive.
- Python 3.10, 3.11, or 3.12 on the machine, not 3.13 or newer
- agentcad runs on OpenCascade, the geometry kernel behind FreeCAD, and its Python bindings do not exist for 3.13 yet. This trips up more first installs than anything else, so the setup prompt below pins 3.12 for you.
Set your agent up
Tell your agent
Set up agentcad so you can design CAD for me. 1. Make a Python 3.12 virtual environment in a new folder called "coaster", activate it. 2. pip install 'agentcad[mcp]' 3. Add agentcad to .mcp.json so you can call it as a native tool, using .venv's Python. 4. agentcad init --name coaster Tell me when the MCP server is connected.
What your agent does
It installs agentcad, wires up the native tool connection, and creates an empty project that carries its own operating guide. About a minute.
Three parts of that are worth understanding, because they all pay off later:
- The install
pip install 'agentcad[mcp]'pulls in agentcad, the CAD engine, and the MCP server that the next step needs.- The MCP connection
- This turns every agentcad command into a native tool: typed parameters in, structured JSON out, no shell parsing in between. It also keeps the CAD engine loaded between runs, which takes a few seconds off every command after the first.
- The project
agentcad initcreates the project and writes the operating guide into it: a block inAGENTS.mdand a Claude Code skill. Your agent reads those on its own, so next session it already knows agentcad is here and how to use it. You do not have to explain it again.
If your agent needs the MCP config written by hand, this is the entry:
{"agentcad": {
  "command": ".venv/bin/python",
  "args": ["-m", "agentcad.mcp"]
}}The path points at the Python inside the project virtual environment, which is where agentcad was just installed.
You may need to restart
When setup finishes you have a project folder holding agentcad.json and the guide files init wrote. Everything agentcad makes from here lands in that folder, numbered, so a new run never overwrites an old one.
Ask for the blank
Start deliberately boring. You want to see the loop before you see a shape.
Tell your agent
Make me a coaster blank: a 60mm square, 4mm thick. Tell me the dimensions and volume you get back.
What your agent does
Writes a two line script, runs it, and reads the measurements that come back.
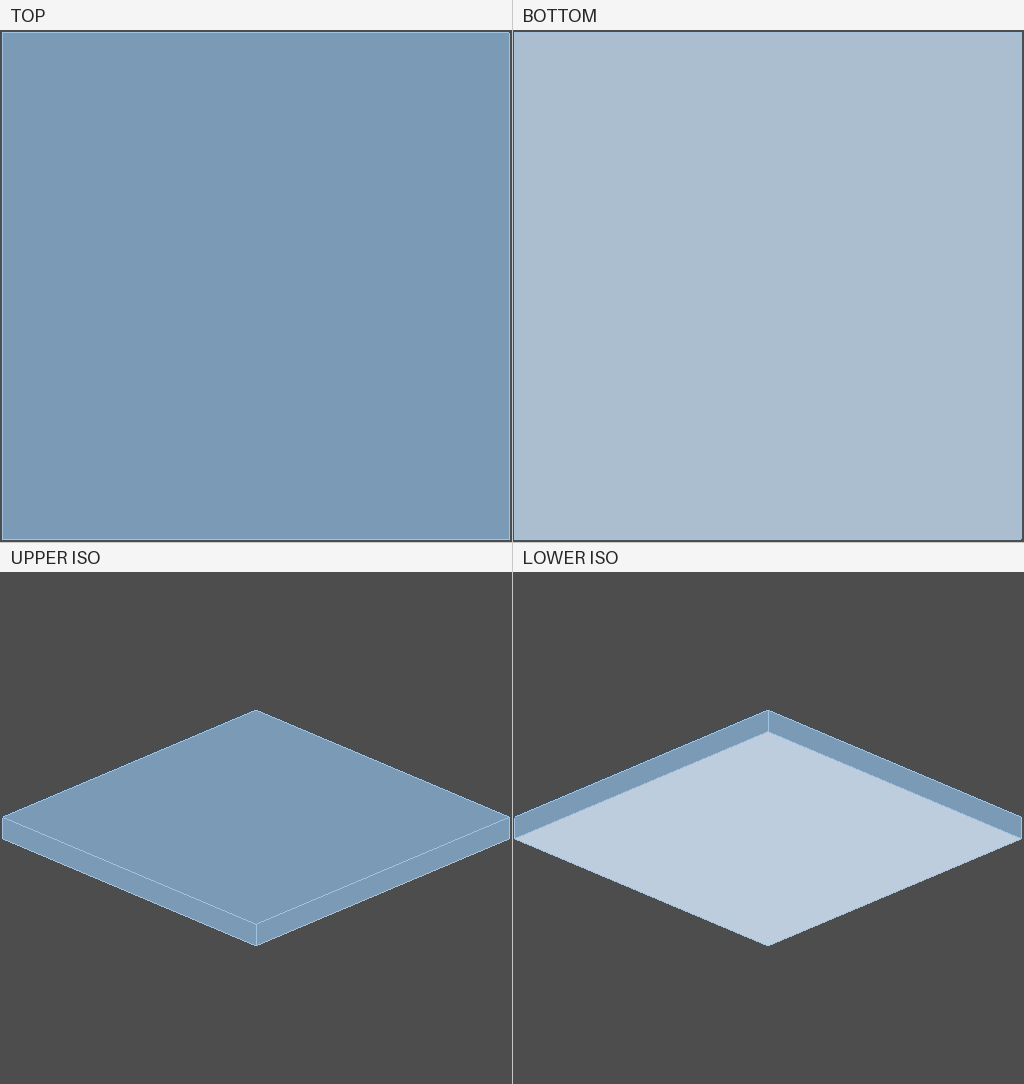
The script your agent wrote
plate = Box(60, 60, 4)
show_object(plate)
There are no imports because Box and show_object are already there, along with the rest of the build123d toolkit. Numbers are millimetres, so that is a 60mm square 4mm thick. show_object() is how a script says “this is the thing I want”. Without it, nothing comes out.
The command it ran
agentcad run script.py --output plate
A 3D viewer opens in your browser on its own.
What came back
{
  "command": "run",
  "status": "success",
  "version": 1,
  "label": "plate",
  "outputs": {
    "step": "v1_plate/output.step"
  },
  "metrics": {
    "dimensions": {
      "x": 60.0, "y": 60.0, "z": 4.0
    },
    "volume": 14400.0,
    "face_count": 6,
    "is_valid": true
  },
  "preview": "v1_plate/preview.png",
  "viewer": "v1_plate/viewer.html"
}Three fields decide whether your agent got what you asked for:
- dimensions
- How big the part actually is, measured off the finished geometry. You asked for 60 by 60 by 4 and got 60 by 60 by 4.
- volume
- 14,400 cubic millimetres, which is 60 by 60 by 4 exactly. Volume catches the mistakes a picture hides: a hole that never cut through, a wall that never thickened.
- is_valid
- Whether this is a closed, watertight solid rather than a pile of surfaces. If it is
false, nothing downstream will work. No slicer, no other CAD program.
A folder appeared alongside it:
v1_plate/
  output.step   the CAD file
  script.py     what produced this version
  meta.json     every number from the run
  preview.png   the four-view image above
  viewer.html   the 3D viewer that opened
Ask for the real shape
A flat slab is not a coaster. Round the corners, and sink a shallow dish into the top so a wet glass has somewhere to drip.
Tell your agent
Now round the four vertical corners with a 6mm radius, and sink a 40mm circular dish 2mm deep into the top face.
What your agent does
Edits the script, runs it under a new label, and leaves the first version untouched.
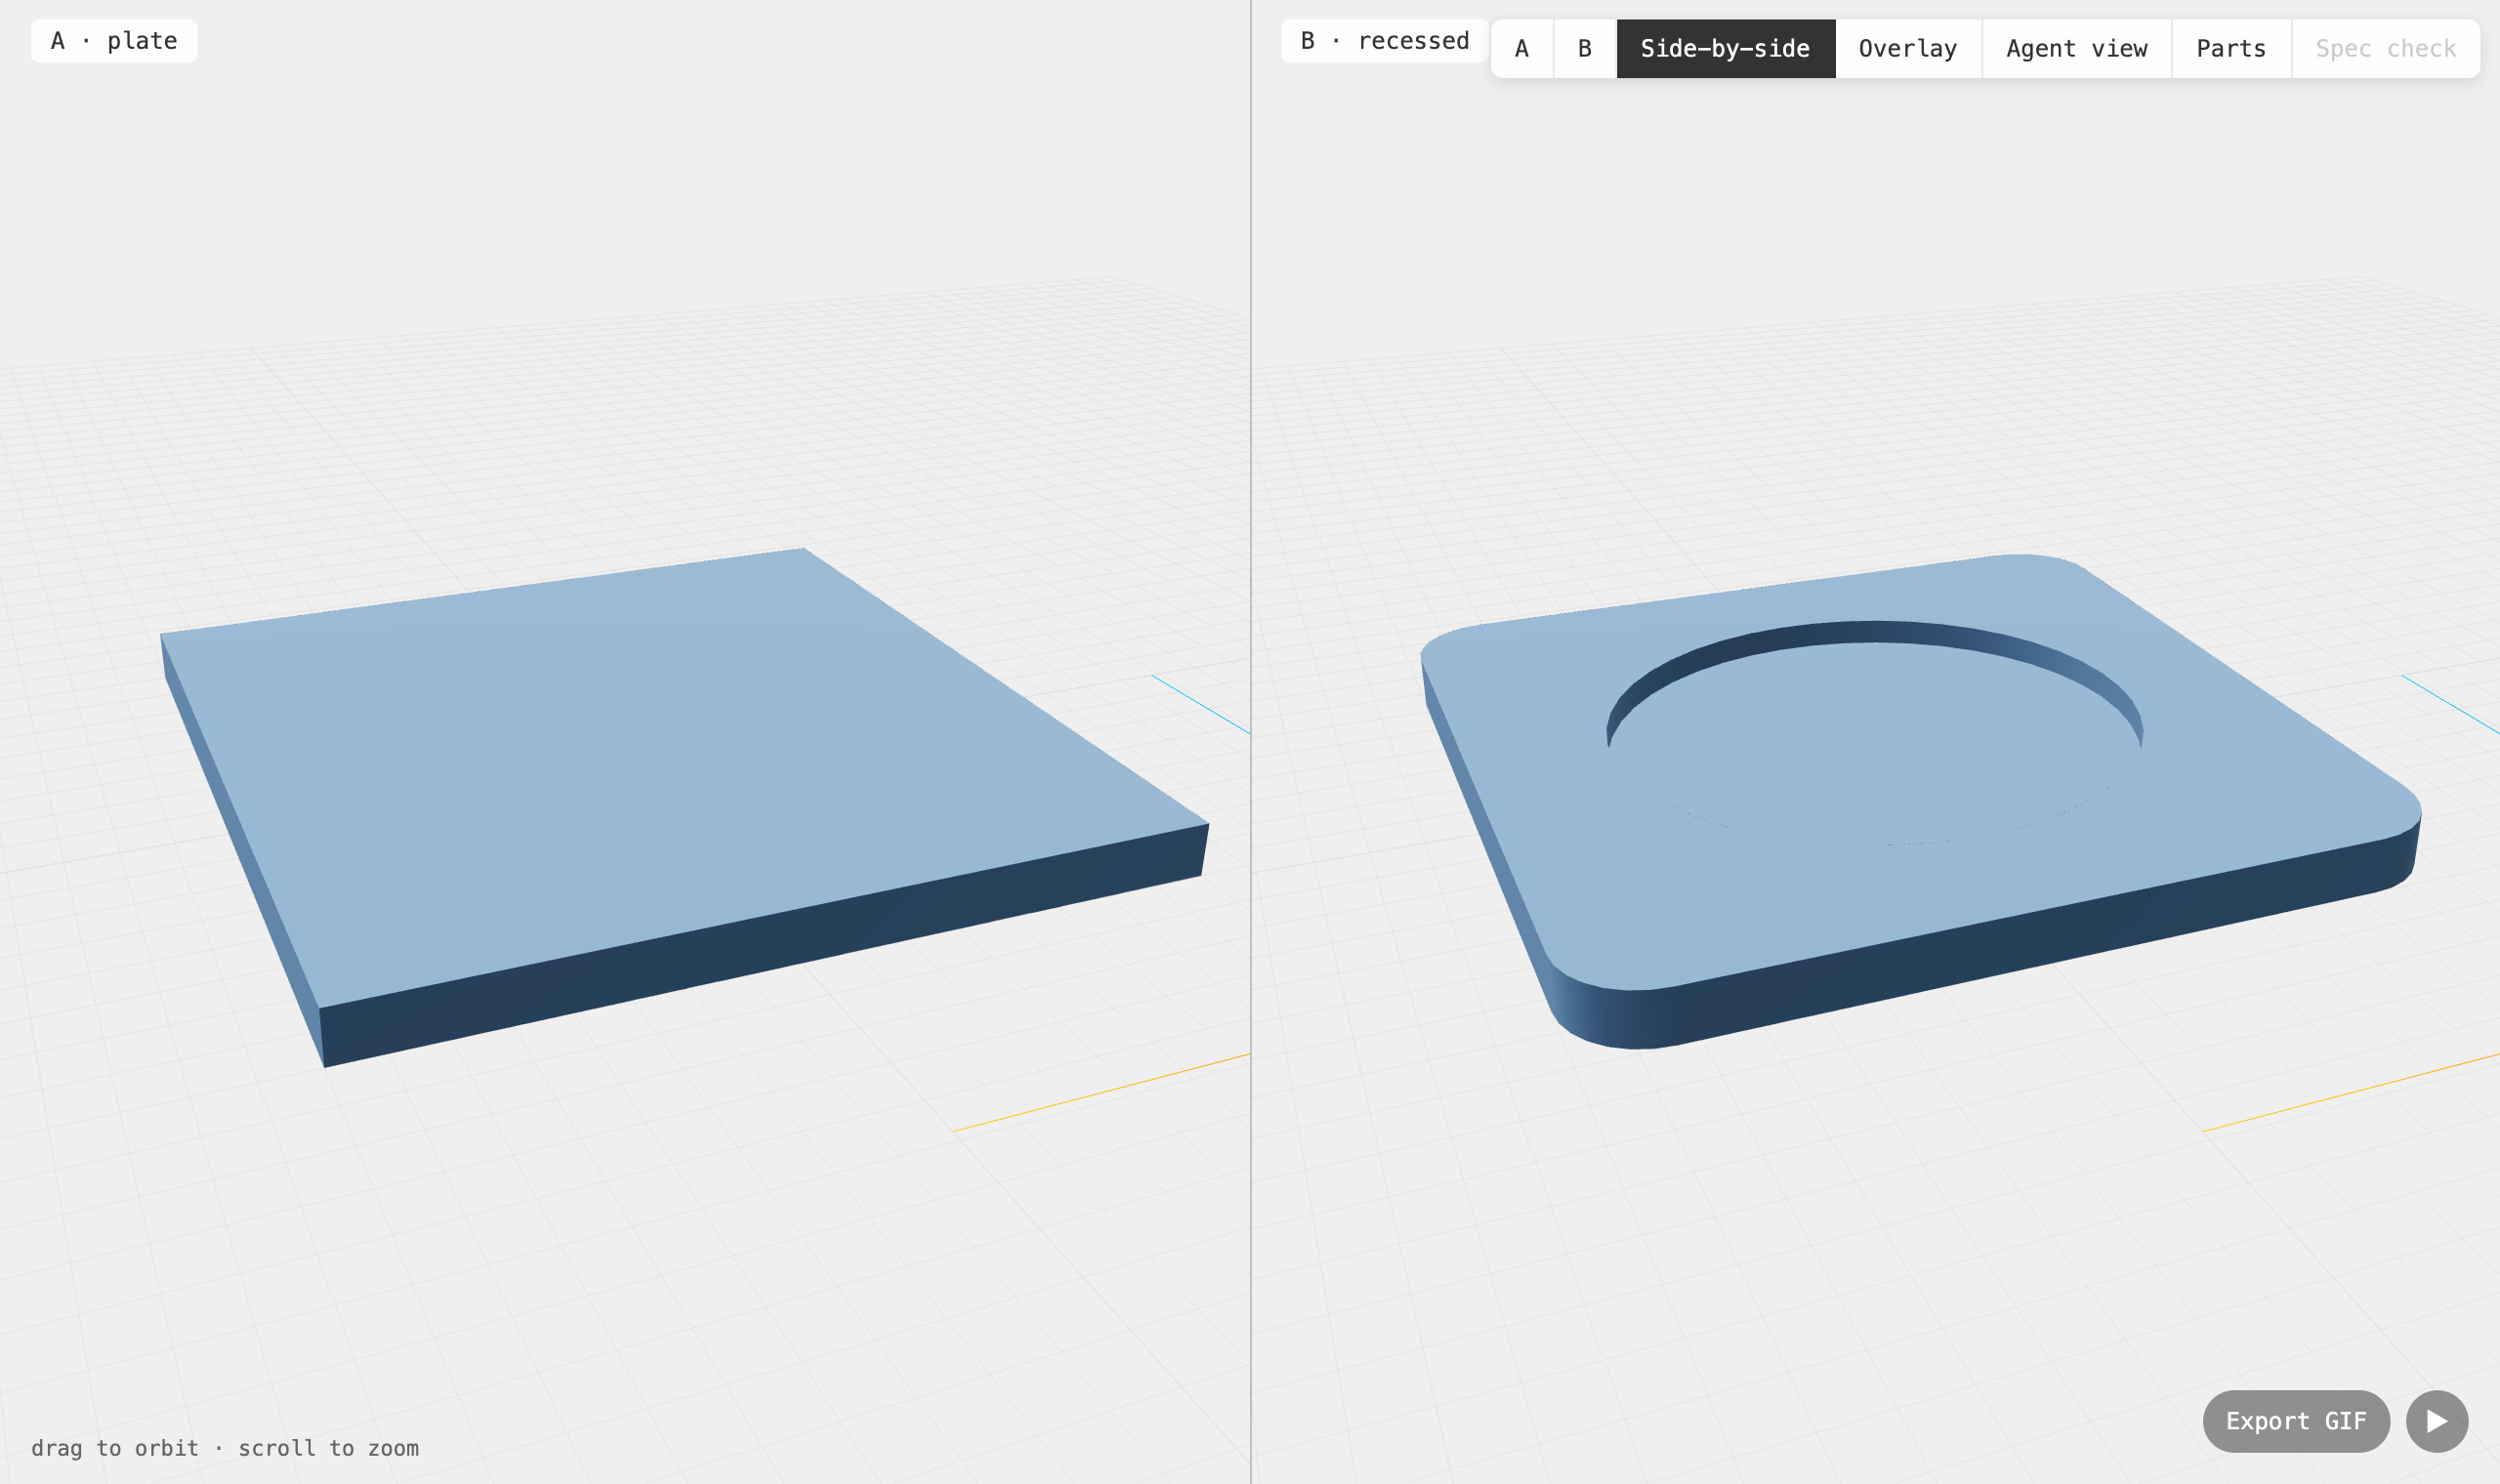
The script, two lines longer
plate = Box(60, 60, 4)
plate = fillet(plate.edges().filter_by(Axis.Z), radius=6)
plate = plate - Cylinder(radius=20, height=2).locate(
    Location((0, 0, 1)))
show_object(plate)fillet(...)rounds off edges.edges().filter_by(Axis.Z)picks the four that run top to bottom, which are the vertical corners.- The
-subtracts one shape from another, the way a mill removes material. A 40mm wide cylinder, raised so that only its bottom 2mm sit inside the plate, leaves a 2mm deep dish behind.
Nothing overwrote the first version. That is what makes the next step possible.
Ask what changed
Tell your agent
What changed between the two versions?
What your agent does
Reads the comparison agentcad already ran. Because there was a previous version, it compared the two automatically, and it compared solid material rather than pixels.
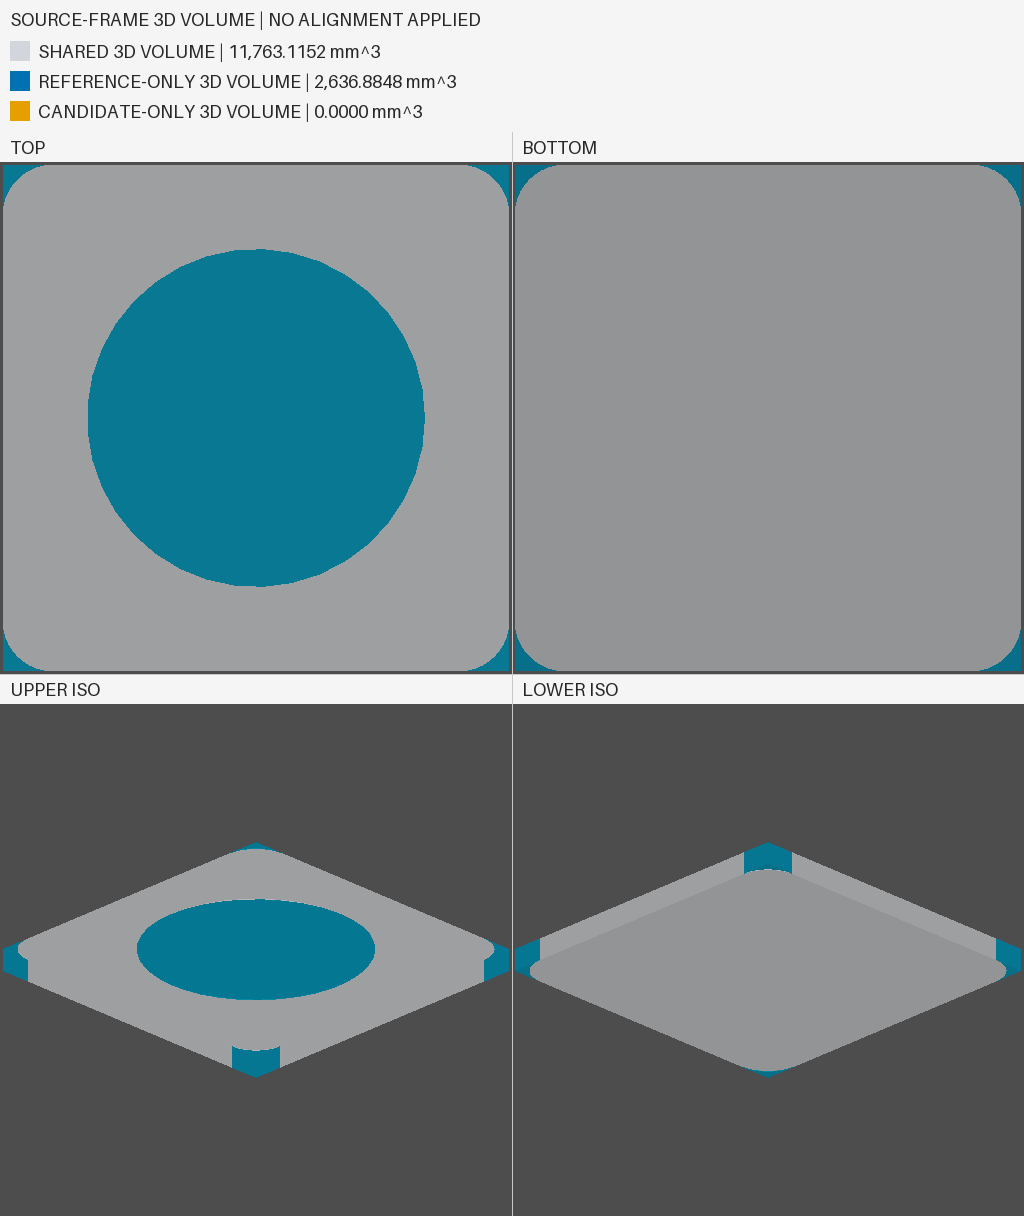
"volumes": {
  "reference": 14400.0000,
  "candidate": 11763.1152,
  "shared": 11763.1152,
  "reference_only": 2636.8848,
  "candidate_only": 0.0000
}Read it as a sentence. The edit took 2,636 cubic millimetres out and put nothing back, which is exactly the four corners plus the dish. If candidate_only were not zero, material would have appeared somewhere nobody asked for it.
This is the habit worth forming
Check it, then print it
Tell your agent
Measure the finished file and confirm the dish and the corners came out at the sizes I asked for. Then export it as an STL so I can print it.
What your agent does
Runs two commands. The first reads the finished CAD file back off disk instead of trusting the script. The second writes a mesh a slicer can open.
"cylindrical_features": [
  {"diameter_mm": 12.0, "count": 4, "axis": "+z"},
  {"diameter_mm": 40.0, "count": 1, "axis": "+z"}
]It found both round features on its own: one 40mm circle, which is the dish, and four 12mm ones, which are the 6mm radius corners. Nobody told it what to look for. Your script says what you meant. Measuring the file says what you got.
Which file goes where
- STEP
- is written on every run. Open it in Fusion, SolidWorks, Onshape, or FreeCAD. It keeps real curves and surfaces, so it stays editable, and it is the file a machine shop will ask you for. A CNC machine cannot run it directly: someone has to take it through CAM first to generate toolpaths and G-code.
- STL
- goes into Bambu Studio, PrusaSlicer, or Cura, and then to a 3D printer.
- GLB and OBJ
- are for web viewers and 3D tools.
That coaster is now a real part that someone could make. It took three sentences from you.
Keep going
You have seen the whole cycle: ask, run, read the numbers, change, compare. Your agent runs it far faster than you can, and it does not get bored on the twelfth iteration. Give it something harder.
Tell your agent
The coaster works. Now make it a set. Design a matching holder: a tray that stacks four of these coasters with 1mm clearance all round, an open front so you can slide them out, and a 3mm base. Check the dimensions against the coaster before you show me anything.
The guide and the MCP server you set up in step 1 are still there. Open this folder tomorrow, or start a new project beside it, and your agent already knows how to design.
Tell us how it went
Both of these are things to ask for in the same plain English as everything else. Your agent runs the command and reports back.
- Send feedback
- “Send the agentcad team feedback about what tripped you up.” Your agent runs
agentcad feedback, which attaches the session log so we can see what actually happened rather than guessing. Half formed thoughts are welcome, and agents are encouraged to send them mid task without waiting to be asked. - Get release updates
- “Subscribe me to agentcad updates at me@example.com.” Your agent runs
agentcad subscribeand a confirmation link lands in your inbox. Same list as the form at the bottom of this page.
When something goes wrong
These are for you, not your agent. Most errors your agent reads and fixes on its own. These four are the ones where it needs a nudge, so each comes with the sentence to give it.
ERROR: Could not find a version that satisfies the requirement agentcad
Your agent built the environment with Python 3.13 or newer. pip found no compatible release and said so in a way that reads like the package does not exist.
Tell your agent
“Rebuild the virtual environment with Python 3.12 specifically. If 3.12 is not on this machine, install it first.”
agentcad: command not found
The virtual environment is not active. Agents hit this when a later command runs in a fresh shell.
Tell your agent
“Activate the virtual environment before running agentcad, or call .venv/bin/agentcad directly.”
Your agent is shelling out instead of using the tools
The MCP server is not connected. Everything still works, but each command reloads the CAD engine and takes a few seconds longer.
Tell your agent
“Check that agentcad is in .mcp.json and pointed at the Python in .venv, then restart so the server connects.”
Your agent shows you a render and calls it done
A picture cannot show a hole that stopped short of the far face, or a wall that never thickened. This is the most common way an agent talks itself into believing a broken edit worked.
Tell your agent
“Before you show me a picture, tell me the dimensions, the volume, and whether the geometry is valid.”
Still stuck
agentcad feedback "what happened" from inside the project. It sends the message with the session log attached, which is usually the difference between a bug we can fix and one we cannot reproduce. Half formed thoughts are welcome, and agents are encouraged to send them mid task without being asked.Where to go next
- Docs
- Every command, every flag, the full response schema. Also available offline as
agentcad docs, which is where your agent will look first. - Parts
- When one shape becomes many that have to fit together. Named, grouped, and inspectable one at a time, in a walkthrough of a toy rebuilt as 51 parts.
- Diff
- Step 4 in depth, on a real edit that looked correct and was not.
- Measure and spec
- How to write down what “done” means as a check your agent can run against its own output.
- See it in action
- The same loop, scaled to a 234 part 1903 Wright Flyer in a single session.
Get release updates
Optional. New releases and agent-facing features. We’ll send a confirmation link before adding you.